Sunday 23 February 2014

Katsucon Figure Gets

So recently I've been leaning towards collecting smaller figures. Not only can I fit more in my suitcase for the journey home, but it also feels as if I've purchased more for less money. You can definitely go super cheap, and cheap quality, but in general the smaller figures are just as nice as some of the larger ones. It all depends on which way you want to go. I did a quick sweep of the dealer's room at Katsucon this year but only had a little cash so I had to pick and choose what I decided to get. So there are only a couple this time around but I think they're cute additions to my collection!

The first one I got is from a series called Natsume Yuujinchou (or Natsume's Book of Friends). It's one of my favourite series and I highly recommend it! The character portrayed here is Nyanko-sensei, or Madara when in his real form. He likes to eat.. and is a super pudgy cat. Need I say more?


The figure is produced by Banpresto and is the largest of my purchases this time around.


I was surprised by the level of detail and the series has three other figures you can collect featuring this character.


I saw this Shirahoshi (One Piece) figure and sort of hesitated to buy it. I've been eyeing her figures for a while since I really like her design, but I don't know enough about One Piece to justify buying a larger scale. In fact I saw this exact same pose going for the regular price, and while it was very beautiful I eventually settled for the much smaller and cheaper version. I finally have the giant (tiny) mermaid on my shelf!


I liked the transition from opaque to transparency in her hair and tail. I thought it was a nice touch to an otherwise cheaply made figure. The only thing I have to settle with is the very crude shading around her breasts. Overall though the paint and detail is still very nice.


As you know I'm a sucker for interesting bases. From what I've seen most versions of this pose doesn't feature the ring but instead a rocky base (far less interesting to me).


So a while back I bought my boyfriend one of those mystery mini figures. You see all the various things you can get and then open a random figure. It actually started my appreciation of mini figures because a) they were surprisingly well-made, and b) I liked the surprise of which one you get! Just make sure you like the majority of the figures or else you'll be more likely to get disappointed with the one you're settled with. For me, Monster Hunter is a super safe choice because I'll probably love anything that comes in that tiny box!


While I couldn't find the exact series I got my boyfriend, I did spy this set at a table and decided to pick one up! I like his cute angry expression, but I was secretly hoping for the watermelon piggy you could get...! His head actually moves around like a little bobble head, but seems to be more secure because the head remains upright rather than slanted like most bobble-heads get.


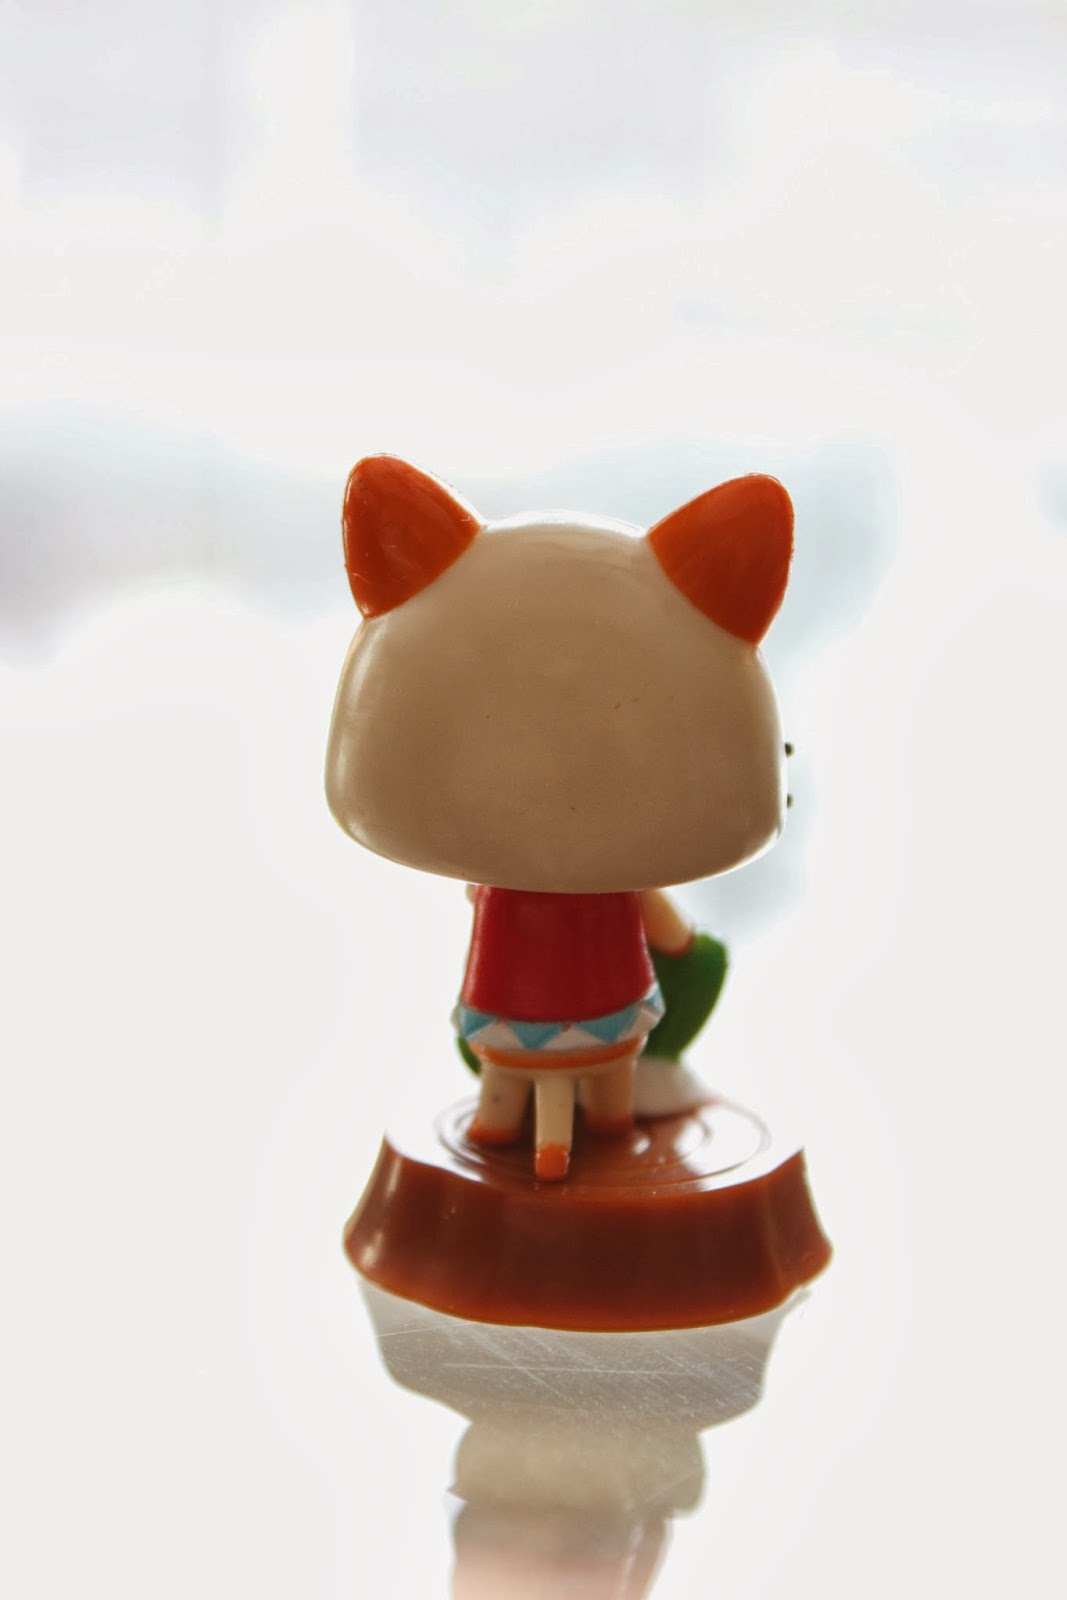
I really like these little guys! I think I'll stay on the lookout for more when I go to cons!

Sunday 12 January 2014

REVIEW || Sally Hansen Complete Salon Manicure

Hi everyone, today I would like to share my thoughts on some nail polish that arrived for me in the mail compliments of Influenster.

I can say that I've already been in love with Sally Hansen from a while back, as I already had purchased one of these polishes in a different colour. I'm particularly tough on my nails so nail polish doesn't really last on me. Plus I hate all the steps I need to do in and around actually putting the colour on my nails. Apparently Sally Hansen's got the one-stop-solution for this.

Let's start with the packaging. The bottle is significantly fatter than its drugstore counterparts. It feels comfortable in the hand and even has some weight to it which I love. I don't feel like a slight nudge of my hand by accident will send this thing tumbling across the table. The only bad thing I can say about the bottle is that these things are crazy hard to open. Both my boyfriend and I were straining to crack all three bottles and I remember my other polish having the same issue. I've never had this problem with other brand polishes and by the time I get it open my fingers are hurting and I'm turned off from even doing my nails in the first place. I understand the concept of protecting the product but it shouldn't be this hard!


Putting that aside, the colours I received are very pretty! I have shades 540 Jade,  470 Red Me Lips, and 510 Pat on the Black. Jaded looked like a robin egg blue in the bottle but actually appears a little more green on my nails. Red My Lips is your standard red, a staple in any polish collection. Pat on the Black is actually a really deep eggplant purple, which doesn't seem to be showing up in the photos.

These formulas are also supposed to be an all-in-one in that you shouldn't need a base or top coat to use them. In all there's apparently seven benefits in each bottle. I don't know how the long-term benefits like strengthening is going so far, but the chip resistant element has been doing okay so far. Since these are supposed to include base and top coat, I've refrained from using them too which has shortened the time needed to actually do a manicure.


The application of these polishes is crazy comfortable and easy. This is mostly thanks to the brush which is a little fatter than most polishes with a curved end. I only need one or two strokes for the colour to be evenly applied to each nail. For someone who is always making a mess on her opposite hand too, this is one of the first times I've had a perfect application without any need for cleanup!


I tried the lighter colour first, as that is where I usually gets problems with streaking. It took two coats for a fairly opaque colour. Drying time was good as well. I'd recommend this polish for travel since you don't need to worry about bringing multiple bottles and it's pretty fuss-free.

Please pardon the dry cuticles.
In all, I really love these polishes! Just wish I could open them....
I received these products for reviewing purposes only and any opinions expressed within this post regarding the product are my own.

Wednesday 20 November 2013

DO YOUR BROWS || Anastasia Brow Powder Duo in Caramel

Hi everyone! Brows are an essential part of everyday makeup as they create the frame for your face. You don't want to put beautiful artwork in a janky frame, right? No! So do your brows!!

There are multiple ways to go about it, there are tinted and not-tinted gels, powders and pencils which you can use to define the edges of your brows as well as fill in any sparse areas. In my case, I have very light coloured, thin and sparse eyebrows with patchy areas. If I don't fill them in, in most photos it can appear like I don't have any brows at all and especially in photos that used flash (not good)! Some girls are gifted with full, coloured brows and only need to worry about maintenance, but for me, any more than tweezing on or two hairs might do more harm then good.

For the sake of this post I'm going to present to you one kind of product from the brand Anastasia, which is well-known for their eyebrow powders.


In general, the packaging reminds me of some Korean brands with the elegant and feminine brand logo and sleek packaging. Very chic and pretty.

In colour Caramel
With this particular powder line you get two shades in one. This is really nice as it gives you more choice and range to create a more natural brow look. You can use one, the other or a mixture of both to make your brows look less one-dimensional. In my case, I use the left shade for the inside of my brow and the right (darker) side for the tail in order to give it a really clean definition. With Anastasia's powder duo you also get the bonus of a mini-mirror just so you don't need to be squinting in your bathroom one (or wherever you put on your face in the morning). Pigmentation is also good.

If you don't want to spend money on a separate eyebrow product, feel free to experiment with eyeshadows you have! Try finding a neutral that's close to your eyebrow colour. Obviously stick to matte shades and try to avoid anything with shimmers or glitters. You don't want your eyebrows looking like a disco ball!

Anastasia's doubled-ended no. 7 brush with angled and spooly ends
If you decide to go the powder route you're gonna want to pick up a couple of useful tools (pictured above). The first is an angled brush of some kind. There are dedicated eyebrow brushes that are smaller than your regular brush so that it can really get in there for the fine details. An angled eyeliner brush could also do the trick. You use this in applying the powder to the brows, especially for filling in any sparse areas or defining the tail.

Next is a spooly brush. This is gonna help blend in the pigments as well as groom any unruly hairs. This should probably be one of your last steps in doing your brows since some hairs can be looking a little spunky after having brushed through them with powder. To set brows you can use a gel formula, but if your brows are pretty tame a good comb-through with a spooly is usually enough.

For travel, I recommend a dual-ended brush to save on space. The spooly end might also help to identify what is your eyebrow tool and what is your eyeliner tool at first glance. (No thanks, I would not like to have black eyeliner on my eyebrows please!)

There are many different ways to fill in your brows for different effects and there are tons of photo guides online as well as stencils you can purchase if you're still unsure. The best thing is practice though, so don't feel discouraged if you end up giving yourself giant rectangles the first time!